Many photographers may consider black-and-white images to need to be updated. However, converting images in black and white will often improve photos with low lighting circumstances. Converting pictures to black and white can also be among the most effective retro-editing ways to make images look more like older subjects and an old-fashioned look.
Most photo editors offer at least essential editing capabilities in black and white. Therefore, a wide range of programs can convert pictures to the black and white format in Windows 11. This is how to change your photos to black and white on Windows 11 with some freely accessible applications.
How do I Convert Images to Black or White with Photos
Photos are Windows ‘ default picture viewer. It packs with useful editing tools in addition. The app comes with a range of different filters that apply both black and white pictures. It is possible to convert images into either black or white by using the Photos application in the following manner:
- Select the PIN Photos app in the Start menu of Windows 11.
- Then, choose an image you wish to modify in the Photos’ Collection tab.
- Click Edit Image on the right side of Photos.
- Select the filter button.
- Choose the B&W filter option.
- Choose the Save as Copy option.
You can also select the different B&W Cool, B&W Warm, or B&W High Contrast choices for converting an image to black and white. Each filter has a distinct design of black-and-white effects. The ability to tint a black-and-white photo by dragging the bar’s Intensity slider to the left of every B&W filter. And, if you’re interested in adding color to old photographs, learn how to colorize your old black-and-white images using Ancestry.
Make sure to look over your options under the Adjustments tab. Here, you can tweak the black-and-white image you’ve converted by moving the sliders along the Lightness, Exposure, Highlights, and Contrast bars.
How do I Convert Images to Black or White Using Paint.NET
Paint.NET is an all-encompassing image editor available for Windows, using which you can transform images into black and white. There are different desktop as well as MS Store app versions. The version for desktops of Paint.NET is available for free. It is how to change your images from black to white using Paint. NET.
- Go to Paint.NET’s Softpedia page.
- Click Download Now to see the available locations.
- Choose a free desktop version on the Softpedia Secure Download (US).
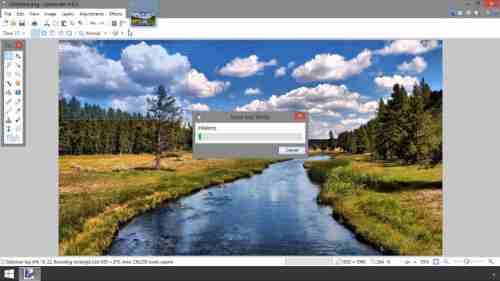
- Make sure to open the appropriate folder which contains the download Paint.NET ZIP archive.
- Right-click Paint.NET’s ZIP archive and select Extract All from the context menu.
How do I Convert an Image to Grayscale Paint with Windows 10
The benefits of conversion to black and white are:
Texture can be beautifully captured when photographing in black and white.
It’s a fantastic method to keep your viewers’ attention focused on the subject without the color scheme taking their attention away.
Most of the time, there are no distinctive characteristics. There are shadows and light, which makes a black-and-white image seem more striking than a color image.
These are a few methods to show how to create an image in black and white using Paint Windows 10 without sacrificing image quality.
Method 1: Use Microsoft Paint
MS Paint has been a standard program on Windows over the past several years. With its numerous functions, the program lets you save images with black and white resolution.
Not all images will apply to all ideas.
- Click on the image you wish to convert, and choose Edit in the manner it is shown. The image will be opened within Paint.
- Choose File> Save as option in the image below.
- Choose Monochrome Bitmap in the dropdown menu. Save as type and select Save.
Be aware that if you do not change the name of your image, it could alter or overwrite the original image. To avoid this, save a copy of the original image with different names.
The Monochrome Bitmap feature.
The image will be saved in black and white.
Method 2: Utilizing Microsoft Photos
Microsoft Photos is a pre-installed application in every edition of Windows 10. It’s simple to install and quickly converts images to grayscale.
Take note of keeping a duplicate of the original image if you aren’t satisfied with the result. You.
- Click on the image with the right-click and select Open With > Photos, as illustrated below.
- Select the Edit and the Create option.
- Choose Edit from the menu dropdown.
- There are three options: Crop and Rotate and Filters and Adjustments. Choose Adjustments to alter the brightness, color, and settings.
- The Color slider can be moved until it is down to the left. The image will change from black to color and white.
- To save the File with a different name, click the Save a copy button in red.
Be aware that if you select Save to save the File, it will be overwritten by the File originally. It is only necessary if there is a backup copy that is stored somewhere else.
We hope this article helped you and that you can convert your image into grayscale painting on Windows 10. Let us be aware of which one works best for you. If you have any questions or ideas, send them to us in the comments.